Tight hips can subtly impact your daily life and activities, causing discomfort or limiting your movement. Recognizing the signs of restricted hip mobility is key to preventing issues and improving,
Proper Lower-Body Alignment for Maximum Pedal Power
February 24, 2017 10:56 pm / Category: Cycling , Sports Performance
Are poor cycling mechanics effecting your power output? Dustin shares his thoughts on proper biomechanics on the bike, as well as the single exercise you need to ensure all your hard work is translating to optimum pedal power.

BY DUSTIN HANCOCK, DPT, RAUSCH PHYSICAL THERAPY
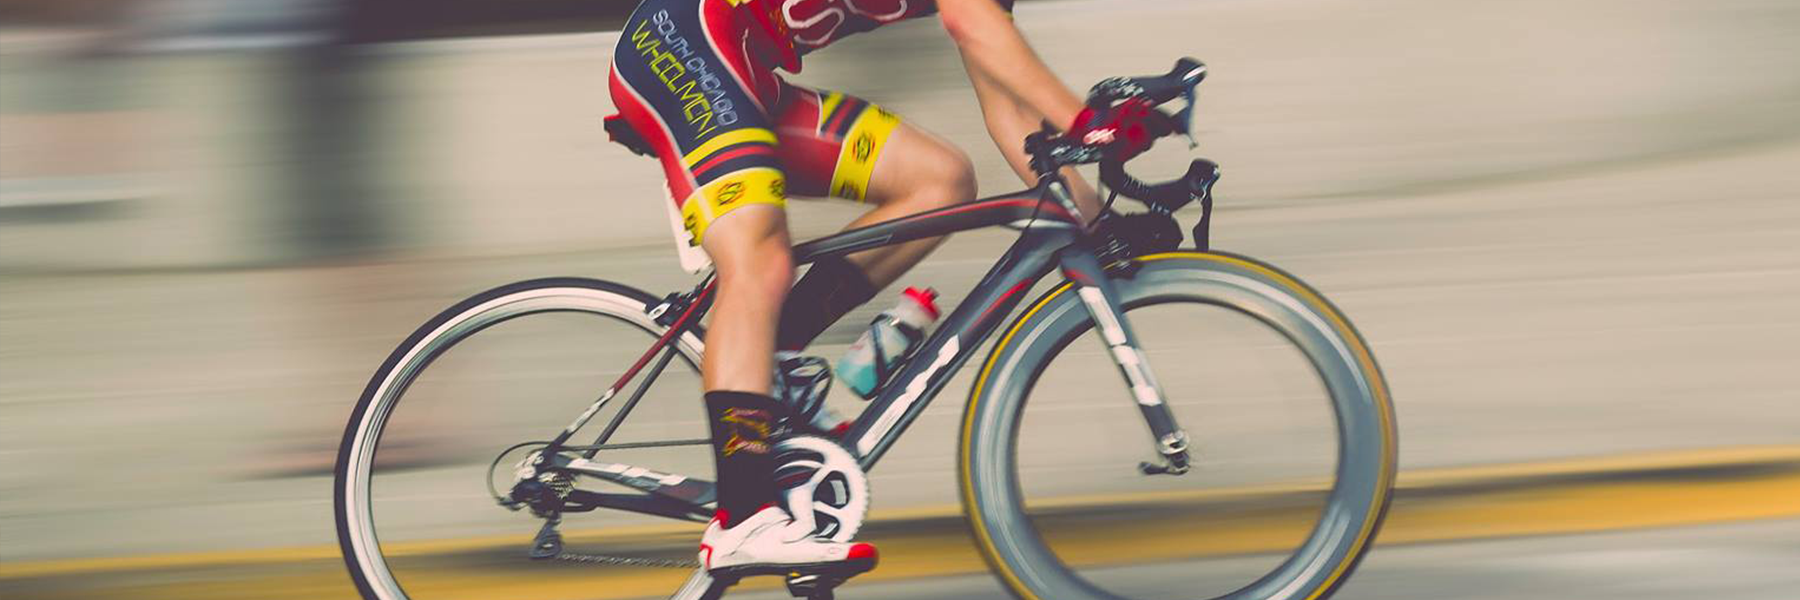
Are poor cycling mechanics robbing you of your precious pedal power? You can train long and hard to improve your performance on the bike, but if your body alignment is off, you’re putting yourself at risk for both injury and power loss.
For cyclists, proper biomechanical alignment in these three lower extremities is the key to not only avoiding injury, but also to increasing your power output levels.
Hips
As the powerhouse of the body, the hips are an important aspect of a cyclist’s biomechanics. There are several common issues cyclists face in this area, such as overuse of the quadriceps muscles while pedaling, as well as tightening of the hip flexor from sitting for too many hours in a day.
Tight hip flexors inhibit the most important hip extensor muscle, the gluteus maximus, while a lack of full flexion results in compensations at the spine, which can cause joint stress, compression of the discs, lower back pain, and saddle-related pelvic floor dysfunctions.
The “best” hip position while riding is different for each person, which is why it’s important to get a professional evaluation to figure out the natural shape of your hips (Q-angle) and ideal riding style. However, the general rule is to imagine a plumb line from the hip through the middle of the knee and finishing between your second and third toes. Since everyone is different in shape and size, the best position is usually the most natural feeling to you; so, hop on a trainer, close your eyes, and feel to the path of least resistance.
Knees
Think of your legs as pistons; as they attack a hill, they need to keep the power straight and consistent to operate effectively. As a physical therapist, I always perform a frontal plane exam on cycling patients to check that their knees are tracking correctly, as poor alignment causes power loss and puts you at risk for injury.
My frontal plane exam simply consists of having my patients stand in front of me and perform a Single Leg Squat. The squat simulates the cyclist’s foot position, and it shows me what my patient feels is comfortable. In my evaluation, I look to see if the feet are turned out, which results in a collapsed arch and can cause a deviation or torsion strain at the knee. I also check if the hips move backwards first when the patient squats, indicating it’s a gluteal-dominate movement, so the trunk of the body can stay controlled, which ensures core/hip stability. The knee should not go past the toes, and I also advocate for the shins staying as vertical as possible to take stress off the ACL—the most important ligament in the knee.
You can perform a frontal plane exam yourself at home by performing a Single Leg Squat in front of a mirror. As you squat, check that you’re keeping the knee tracking wherever the second and third toes are pointed; this ensures all your power is being transferred to the bike.
Ankles
Your ankle joint positioning is important to efficiently transfer the power into the pedal without any leaks in the system. There are generally three postures of cyclists—toe-down (stabbers), neutral/horizontal, and heel dropped—each of which has some pros and cons. The toe-down posture is designed for flexibility or compliance to the surface beneath, while the neutral/horizontal and heel-dropped ankle postures are understood to derive more power.
Heel Drop: Good
The human body is structurally designed to allow us to use muscles as pulleys and produce power to accelerate our body. When the ankle is in the heel-dropped posture, the ankle is positioned so that you have the least power transfer loss; this is known as a “closed pack” position” in medical terms, meaning the shape of the bones lock into place and all ligaments are in tension. This stiff ankle joint position allows every watt to transfer into the pedal.
Toe Down: Not So Good
If your toe is pointed down in the stabbing posture, typically you’ll lose power on the downstroke, as the ankle will suck up some watts in this “softer” ankle joint position. The analogy that helps the understanding of this concept is to think, “What is more efficient when climbing a steep hill, a bike with full suspension opened up in the rear, or a hard tail or lock out in the rear?” The full suspension example above is like having the stabbing ankle posture (too soft and springy) and as you power stroke up the hill you are leaking power.
Again, each individual is different, so I say the most comfortable, relaxed ankle posture is what’s best for you. However, biomechanically speaking, you may have an advantage dropping the heels during the power stroke to ensure all the power and hard work goes where you want it to.
Prescription for a Quick Fix
There is one particular exercise cyclists can do off the bike to ensure their lower-body biomechanics stay in check: the Single-Leg Squat on an unstable surface (such as a BOSU® Ball*.)
Correct Single-Leg Squat Mechanics:
- Hips move back first
- Toes stay relaxed while ankle stays relatively flat to the ground
- The motion down is controlled and super slow (at least six seconds) with good alignment
- Finish strong by going back up fast, squeezing the buttock at the top
Start with 10 to 15 reps focused on form, then work up to three sets of 10 to 15 reps, two to three times a week.
*If you don’t have a BOSU®, use a pillow as the unstable surface.
Applying the PAP Theory for MTB
To make this “quick fix” exercise more sport-specific, mountain bikers can apply the Post-Activation Potential (PAP) theory to help unleash greater potential power gains for exploding up those steeps hills.
PAP is a high-level training concept that combines heavy-resistance strength training with explosive plyometric, sport-specific movements. The concept of “explosion timing” and the focus on quality alignment under heavy loads is at the foundation of each movement.
[vsw id=”QmIhTkEQFsA” source=”youtube” width=”425″ height=”344″ autoplay=”yes”]
Single Leg Squat Using PAP:
- Stand on one leg. Squat in a controlled and slow downward motion (five to six seconds down) with a focus on good alignment.
- Start the upward motion slowly for one to two seconds, then explode to finish.
Applying the PAP theory to a Single Leg Squat—with a two-second delayed, explosive movement—will not only improve your cycling biomechanics, but also your climbs.
 Dustin Hancock, DPT graduated from San Diego State University with a bachelor’s degree in kinesiology/nutrition. He went on to receive his doctorate in physical therapy in 2011 from University of St. Augustine, and began his career at Rausch Physical Therapy and Sports Performance in 2012. As a snowboarder and mountain bike enthusiast, Dustin specializes in treating extreme sport athletes. As a physical therapist, Dustin says he looks forward to being a companion every step of the way on his patient’s path to recovery.
Click to learn more about Dustin and our other physical therapists »